NSpanel Lovelace UI for Home Assistant
Table of Contents
Preface
About 10 months ago Sonoff send us the NSpanel and thereafter we published our first impressions. The product was not entirely new and innovative, as there where Nextion Touch displays and 2-gang wall switches readily available, but the NSpanel combines both in a nice package thus creating a new and promising product.
As with all more complex display solutions, the succes of the product mostly depends on the available software or (open-source) community adoption. A Nextion display is not the most user-friendly display for use in a Home Automation environment. We have been closely watching the evolution of the original software and the emerging open-source community software.
We have been trying tasmota and esphome implementations, we did try the original software as well, but none of those solutions where particularly user-friendly or versatile. But then about 4 months ago, we stumbled upon the “NsPanel Lovelace UI” project by joBr99 (Johannes) which combines Tasmota or ESPHome with a Home Assistant appdeamon add-on. It allows for easy configuration in yaml, from within Home Assistant.
 We haven been experimenting with this add-on for a while now and we love it! It works quit fast, reliable and it’s easy to maintain. Below you’ll find some instructions to get you going with this addon.
Installation
Prerequisites
In order to install the NSpanel Lovelace UI “app”, you need the following installed and ready:
- Home Assistant
- HACS (Home Assistant Community Store)
- appdeamon (available in the add-on store)
- Studio Code Server (available in the add-on store)
- MQTT addon (available in the add-on store)
Installing ESPHome
After you have installed all of the above, it’s time to install ESPHome on the NSpanel. If you prefer Tasmota, instructions can be found here.
To install any kind of third party firmware on the NSpanel, you may follow instructions from our NSpanel First Impressions article.
Instructions for esphome: sairon/esphome-nspanel-lovelace-ui: ESPHome component for NSPanel Lovelace UI (github.com)
Use the example .yaml config to get you going.
Install NSpanel Lovelace UI
Installing the NSpanel Lovelace UI AppDaemon Backend Application is reasonably straight forward. The instructions can be found here.
Configure MQTT
Follow these instructions to configure MQTT. Please mind that if you are using ESPHome, you need to configure the MQTT settings in your yaml as well!
Configure the app
Configuration for the app is done via 2 files. Use Studio Code Server to edit these files.
config/appdaemon/appdeamon.yaml
Here is my config to get you going:
---
secrets: /config/secrets.yaml
appdaemon:
  latitude: 51.2
  longitude: 5.5
  elevation: 2
  time_zone: Europe/Amsterdam
  plugins:
    HASS:
      type: hass
    MQTT:
      type: mqtt
      namespace: mqtt
      client_id: "appdaemon"
      client_host: 192.168.100.101
      client_port: 1883
      client_user: "appdaemon"
      client_password: "password"
      client_topics: NONE
http:
  url: http://127.0.0.1:5050
admin:
api:
hadashboard:
and
config/appdaemon/apps/apps.yaml
nspanel_1:
  module: nspanel-lovelace-ui
  class: NsPanelLovelaceUIManager
  config:
    panelRecvTopic: "tele/nspanel_1/RESULT"
    panelSendTopic: "cmnd/nspanel_1/CustomSend"
    locale: "en_EN"
    model: "eu"
    sleepTimeout: 40
    sleepBrightness:
      - time: "6:00:00"
        value: 8
      - time: "23:00:00"
        value: 2
    screensaver:
      entity: weather.dark_sky
    cards:
      - type: cardGrid
        title: Bathroom
        key: cardgrid1
        entities:
          - entity: light.shower_led
            name: Shower light
          - entity: light.bath_led
            name: Bath light
          - entity: light.vanity_led
            name: Vanity light
          - entity: switch.floor_heating
            name: Floor heating
          - entity: sensor.temperature_sensor_bathroom
            name: Temperature
          - entity: sensor.humidity_sensor_bathroom
            name: Humidity
      - type: cardMedia
        title: Bathroom
        entity: media_player.bathroom
      - type: cardThermo
        title: Bathroom
        entity: climate.bathroom
      - type: cardEntities
        title: Test Entities Card
        entities:
          - entity: light.bath_test
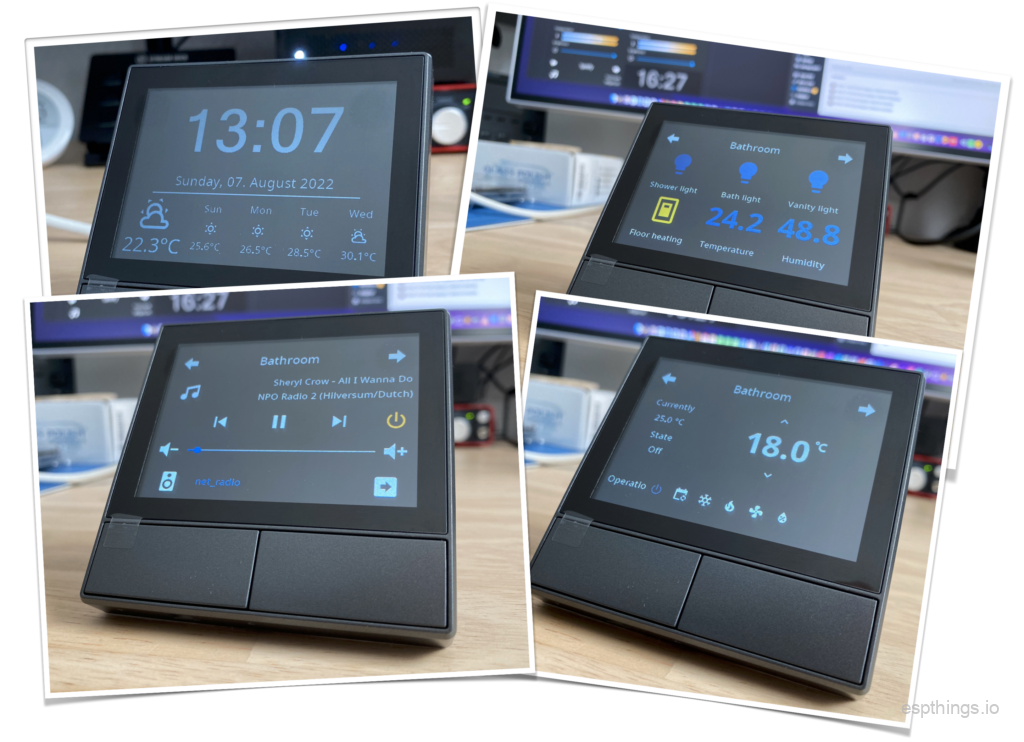
As soon as you have configured both, restart the NSpanel and your display should show:

Any changes you make to the apps.yaml, will now be instant.
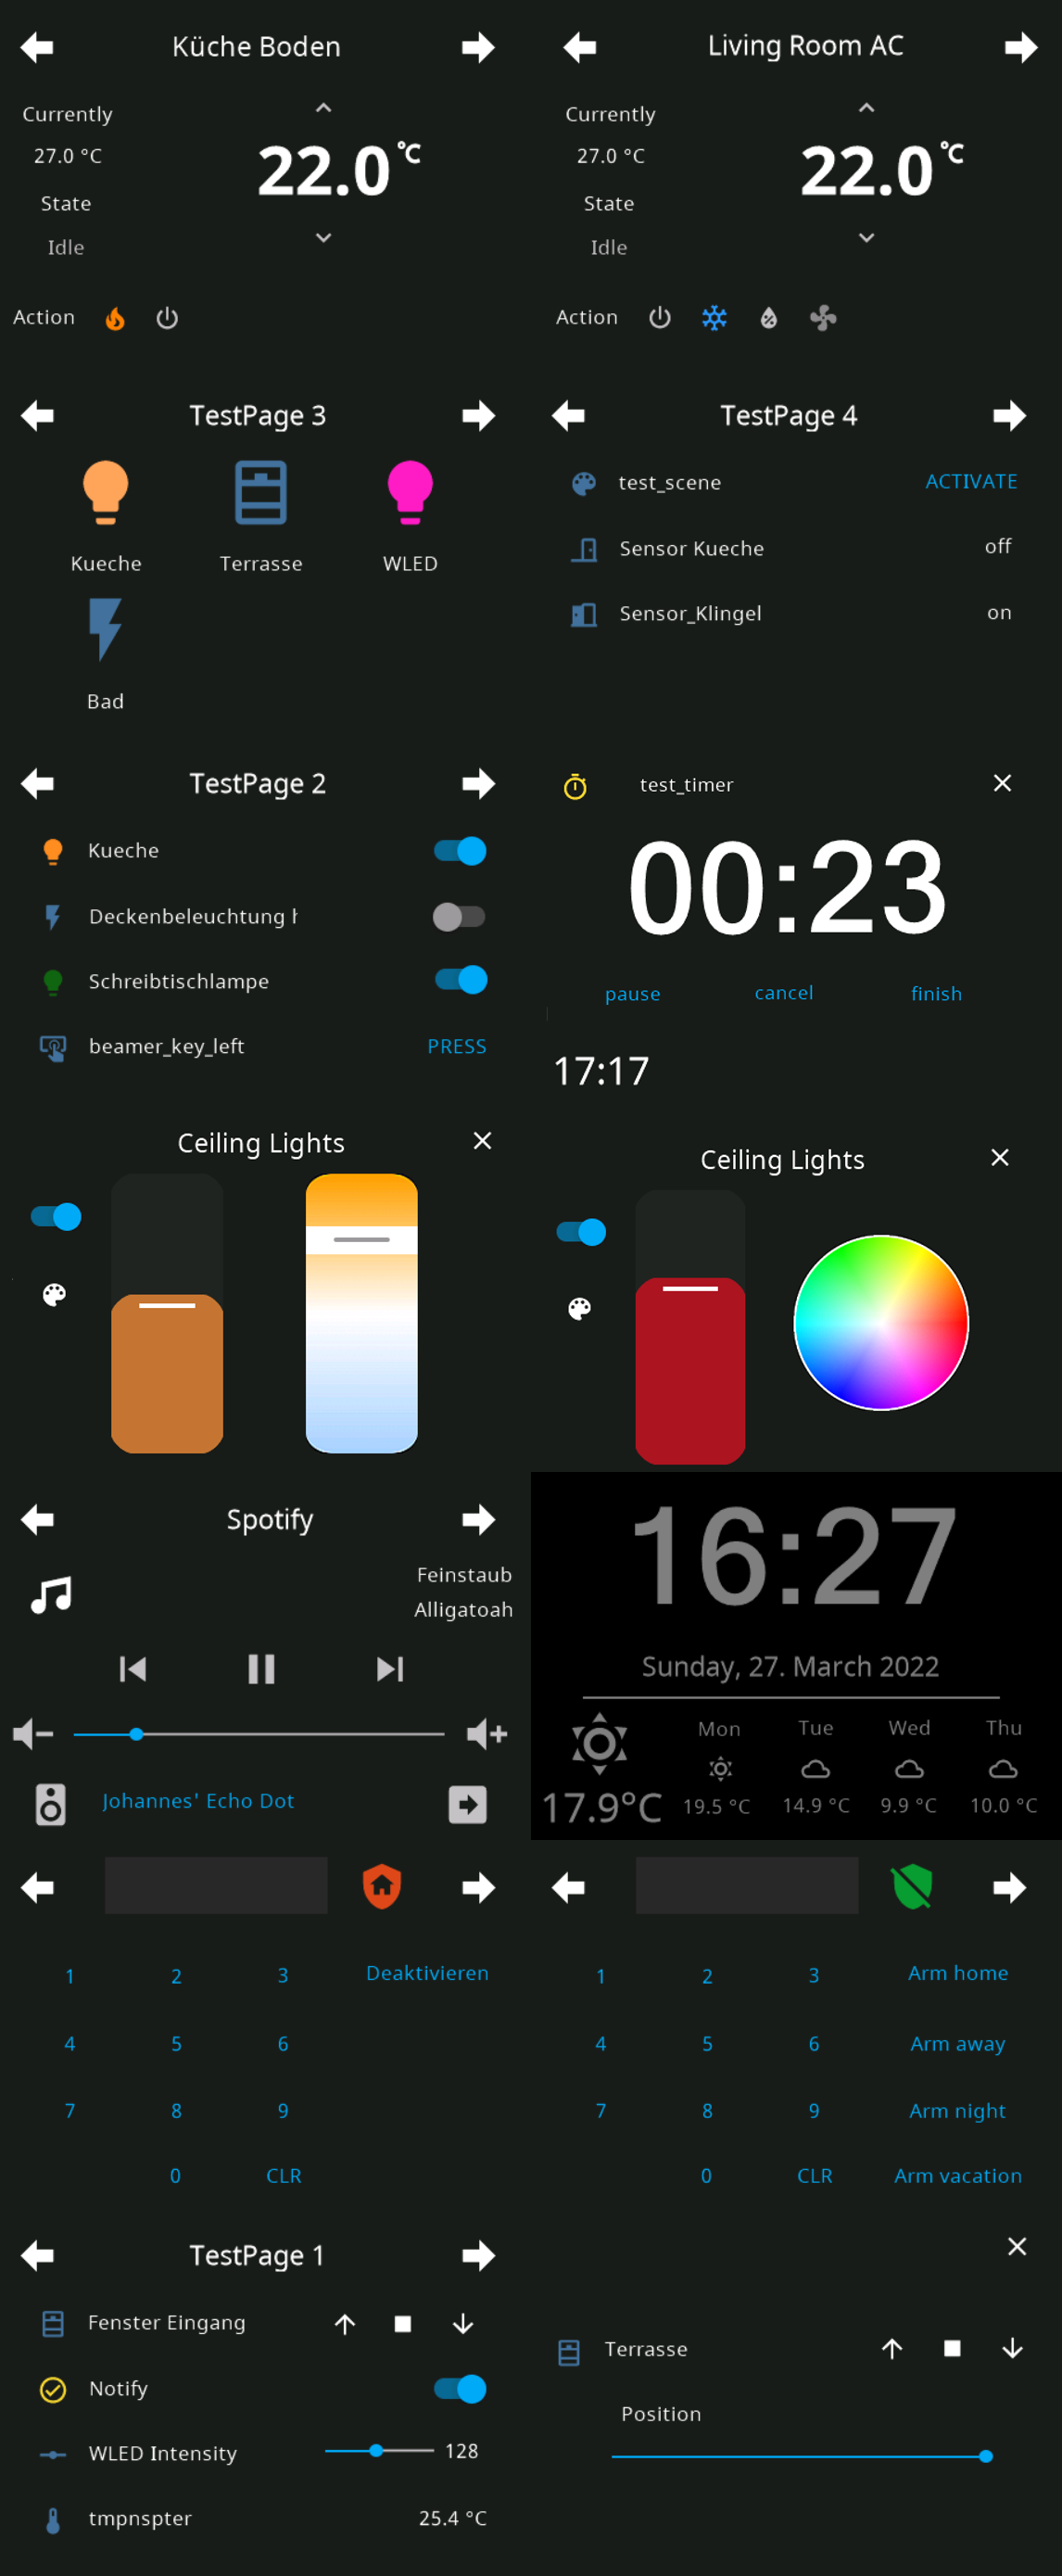
Configuration examples

Conclusion
The NSpanel is and remains a niche product. Using the factory firmware it’s not a very potent device, but using the NSpanel Lovelace UI app, makes it a very useful gadget for specific applications. Installing it all can be a bit challenging, but once installed it’s a breeze to configure, straight from the yaml in Home Assistant.
Have fun!
Please subscribe to our newsletter!

I did it and it is just SUPER COOL !!!
this is exactly the functionality I’ve expected and I cant thank enough this guy, Johannes, who made this wonderful thing!
Hi there,
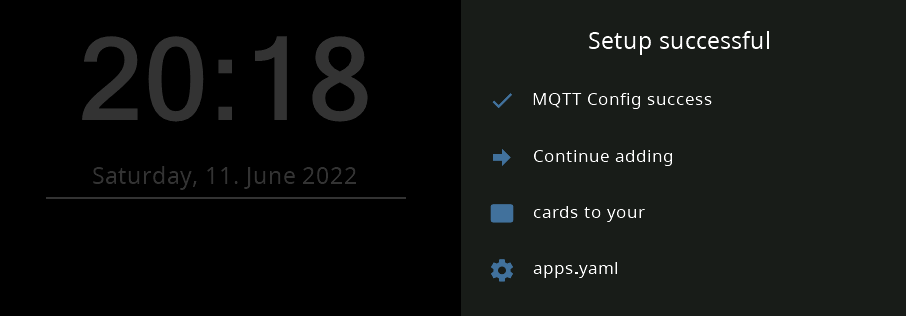
My tft screen is hang here with the following message..
My appdeamon.yaml and app.yaml are exactly the same as above.
Any suggestions, thanks
Hi Chris!
I ran into the same issue exactly you described, but now I managed to get it work finally. Here are the two things which caused me the trouble:
In the appdeamon.yaml under the mqtt section the client_id password and username should not be surrounded by quote marks.
The second issue was in apps.yaml, at:
panelRecvTopic: “tele/nspanel_1/RESULT”
panelSendTopic: “cmnd/nspanel_1/CustomSend”
here note the _1 posfix after the nspanel. In the ESPHome example yaml it is without the postfix, so they communicate on different topics.
During investigation I downloaded an mqtt client on my phone and tried to watch the traffic. By doing so I quickly realised, that the appdaemon has wrong credentials, as it is trying to send the time every minute. Later when I saw data from both devices, it was obvious that the topics are different. After fixing it, in less than a minute the screen started to work like a charm.
Hope this helps, but if not I think you should start investigating the mqtt communication.
Regards,
Banderas
Had the same problem. The AppDaemon log file in HomeAssistant -> Add-Ons -> AppDaemon -> Log did help me a lot to debug
This is brilliant!!!
hi, how its possible to control desired temperature with physicals buttons, i got us version landscaped. Thanks
That is just a matter of reading the esphome documentation. Then change:
binary_sensor:- platform: gpio
name: $device_name Left Button
internal: true
pin:
number: 14
inverted: true
on_click:
- switch.toggle: relay_1
- platform: gpio
name: $device_name Right Button
internal: true
pin:
number: 27
inverted: true
on_click:
- switch.toggle: relay_2
and change the on_click switch.toogle to a home assistant service action like: https://esphome.io/components/api#api-homeassistant-service-action
hi, thanks for answer, my output relay are disconnected from buttons (SetOption73 1), i only need to increase/decrease temp by physically buttons, really apreciate to have an example for this, i use only the weather as screensaver and thermostat card. thanks.
You are using tasmota. I wouldn’t know how to do this using tasmota.
i am sorry…i don’t know and i don’t find nothing about this…i don’t know how to command the touchscreen buttons with physically buttons..
Then you have some reading to do 😎
give me what… not for one year… 🙂
hi again, how much do you want to write this custom firmware?
I dont 😉